


Learn how to place images inline in an editable text area.
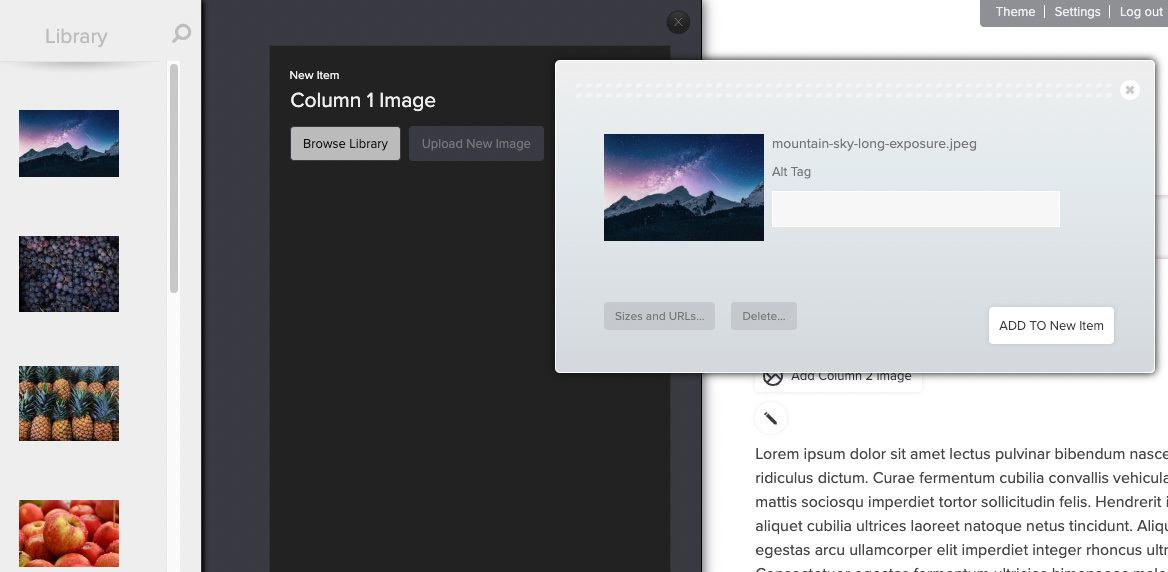
This is great for blogging, but it’s tricky— only get into this if you are feeling “designy.” Your website's template has been designed to display images in specific places. But you aren't limited to those. If you like, you can also drag an image directly into an editable area of the site – anywhere you see the full-featured editing toolbar.
This is how:
Step 1:
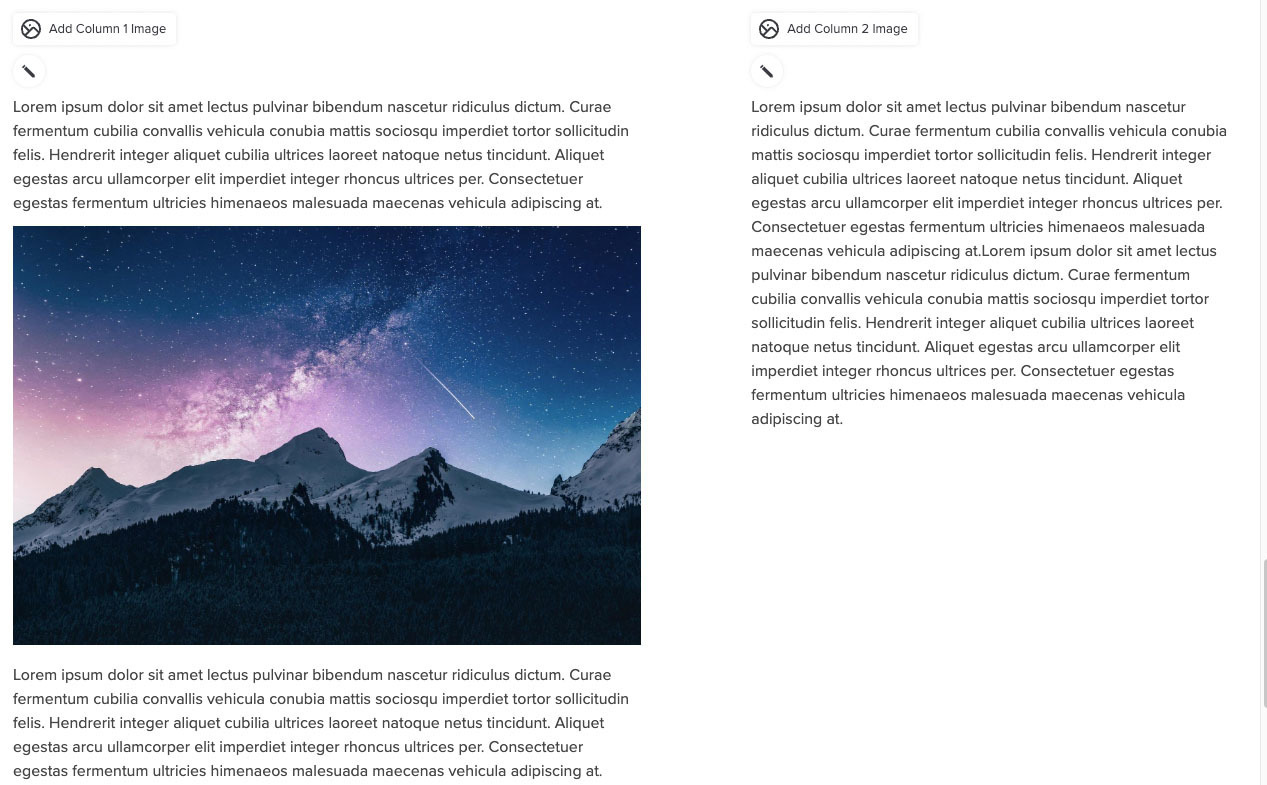
 Step 2:

Step 3:
If your site uses tags, here is the basics of how it works.
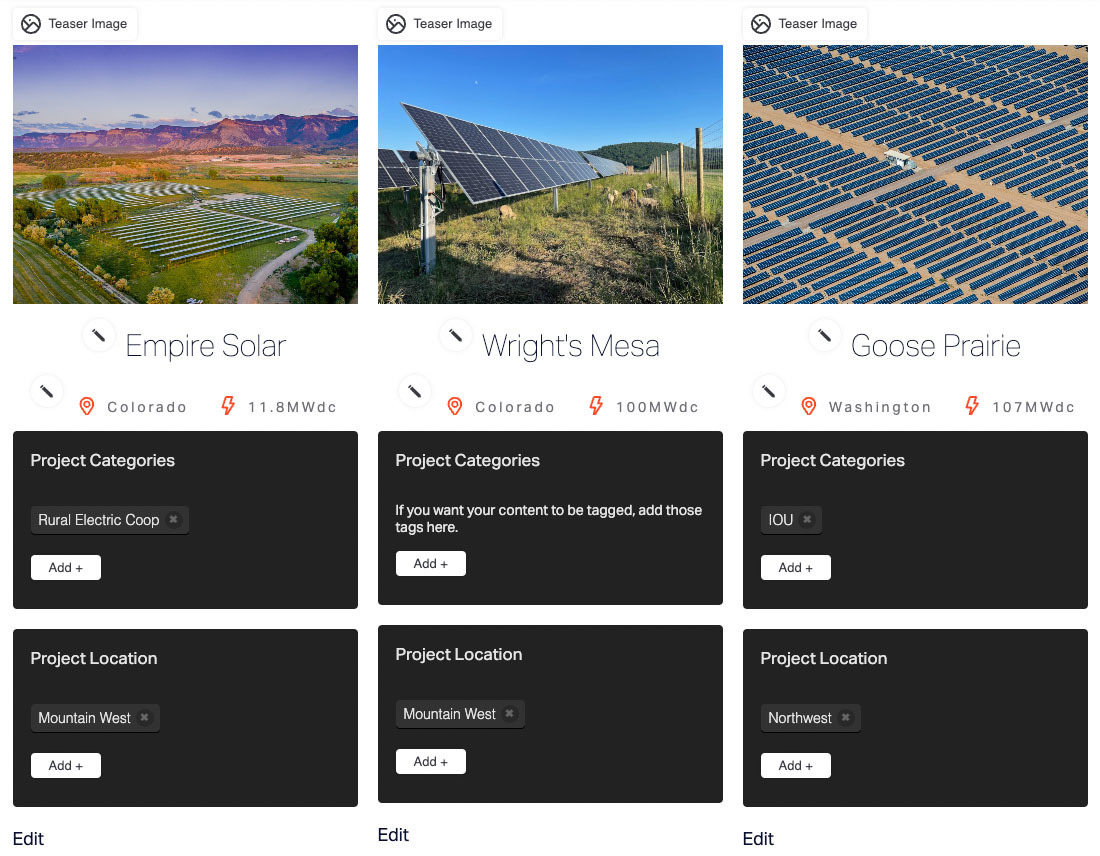
SITE-WIDE TAGGING
If your site uses a tagging system, this functionality enables connections between projects, people, markets, services and locations. These connections improve your site’s SEO and user experience.
You can create a new Market, Service, Person or Location page on the site. For the best workflow, you should add these to the site before entering Projects. When entering the new Market, Service, Person or Location page, be sure to add its tag in the black box at the top of the page. (Just one tag per page.) This tag tells the system that this particular Market, Service, Person or Location is associated with this particular tag.
After tagging your new Market, Service or Location page, the next step is to go to each individual project page to link the project to its market(s), service(s), location(s), and key personnel using the tag you specified:
Simply click “Add” in the fields on the project page, and make a selection from the listed tag options.
The Inline editor tool bar includes a 'source' button. If you know html or want to embed some html code on your page, this is how to do that.

The Easy Update Tools let you edit content (text and images) in the same spot on the site where your visitors see it. When in doubt about how to change something, go to the place the content lives.